|
Ruins of Originia Walkthrough
Guilded
Rivalry |
 |
 |
| "Once I get my hands on that book it will all be worthwhile..."
TABLE OF CONTENTS (click a topic to jump to that section)
- Lower Levels
- The Halls
- Guild
- Return to the Guild
Starting Objectives:
- Cross the Mirror Room to find the training grounds.
- Find a way into the Guild of Thieves.
- Steal Guildmaster Zilfin's bejeweled weapons: The Dagger of Power.
- Steal Guildmaster Zilfin's bejeweled weapons: The Dagger of Greed.
- Steal Guildmaster Zilfin's bejeweled weapons: The Dagger of Chaos.
- Steal Guildmaster Zilfin's bejeweled weapons: The Guild Sword.
- Find Zilfin's contact book.
- Find a way to Bantar's lab in the Guild.
- Get the Book of Darkness from the lab.
- Bantar has some rare artifacts. Find the petrified hand!
- Bantar has some rare artifacts. Find the 8 mystic stones!
- Secure at least 7154 worth of loot.
- Don't kill any humans!
- Don't loose the Gem of Oldorf!
- Escape eastward through the Eastern Passage.
Ending Objectives:
- Those masks are dangerous. Locate the Mask and take it...
- Bantar is alive! Stop him from killing everyone
- Bantar has cloned himself. Kill all the clones in the buffer.
- Make sure that the buffer can not be refilled. Destroy the Machine!
Loot Information:
- Requirements: 7154
- Available: 4254
- Accounted For: 4254
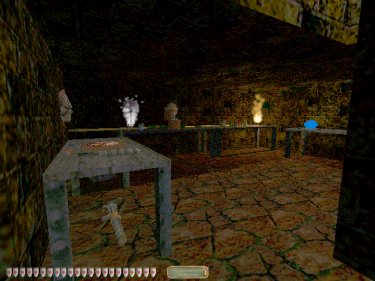
Lower Levels
Mirror Mirror
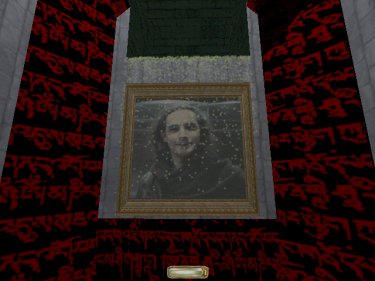
You start in the Mirror room. The door behind you is sealed. Around
you are the portrait representations of the 10 deities. You must choose
your path through the labyrinth. Touch the representation of Silvesta
(figure 1). You are now in a room much smaller than before. Touch the
same representation again. You appear to be in the room you started in,
but you are not. You have crossed over. Open the metal door and go out.
|
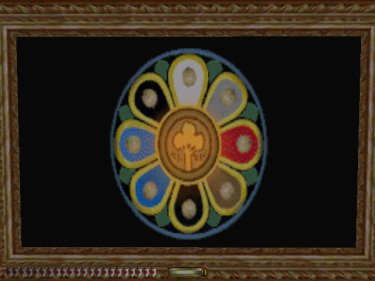
Figure 1
|
Figure 2
|
Entering
To the left of you is a long passage. Go down it. You should come to the
dead body of a thief. Behold the dangers of being too big. He couldn't fit
through the boards, while Garrett can. Anyway, grab his purse (350 - Total 350)
and head back to the portrait of Zilfin. Throw something at it and he'll give
you a fire arrow and a water arrow. The picture works like a ladder, so climb
up it and grab the gem at the top of the waterfall (100 - Total 450). Swim
through the tunnels. You will come to a place where there is a path of
Margrothian Crystal. Don't go this way. Further on are some stairs leading up
to a tower (figure 2). Climb up the tower and jump in.
Trip Line
As you are sent through the tunnels, you'll come to a place where a rope is
stretched down into the water from somewhere above. You need to catch this
rope. Try walking along the bottom and 'falling' onto it. Once you have, (believe me, it's difficult)
climb up and jump into the
blue tunnel. There are 4 rooms up here. One contains some strange machines. One
contains a floating pet cage. Do not approach the cage, as it contains a
fire elemental. One contains a strange construction of rings and posts. The
last one contains noting but a long fall to a large fire. Go into the room with
the construction of rings and posts, and climb up. Once you're up, rope arrows
should shoot into the ceiling. Climb up them, grab the gem (100 - Total 550),
and climb down again.
Fire and Water
Go into the room with the strange machines in it. Flip all the switches to
activate the teleporters. Grab the two gems on top of the nearby pipes (200 -
Total 750), and enter one of them. You can get water arrows in the water area,
and fire arrows in the fire elemental cage. Remember, it can't see you if you
don't move. When you do this, be quick, as you only get 10 seconds before
you're brought back. Go back to the rope leading to the water, and jump in. You
should be shot out and onto a rope. Grab the four gems at the top (200 - Total
950) and climb down the rope. Do not jump off. Get out of the pond, and flip
the switch behind one of the pillars to open the door.
The Halls
Dramatic Entrance
A corridor leads
away to the south. Take it. You should find a moss arrow as you go, before you
come out into the buried training hall. Once you're there, Go up the slope to
the north. Take the gas arrow at the top (figure 3) and slide down the other
side, but be careful as it could hurt. Take the fire arrow from within the
torch flam and go into the corridor. Take a second fire
arrow from the torch there. Then take a right turn and go into the room of air. Hit
the red pedestal with a gas arrow and take the talisman of air. Continue down
the corridor and take yet another fire arrow from another torch.
|
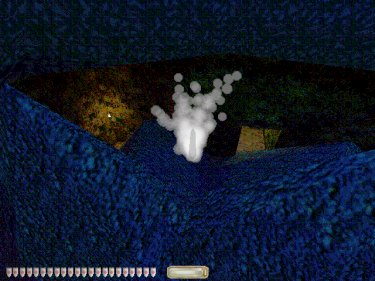
Figure 3
|
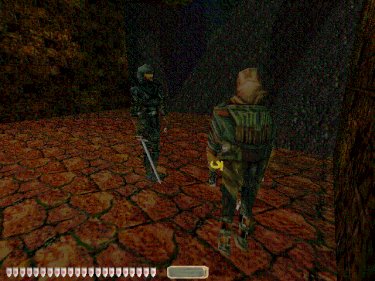
Figure 4
|
|
Conversation
Nearby an archer-thief patrols They carry
broadheads, water and fire arrows,
all of which can be taken from them. A conversation is going on between two
thieves at the corridor entrance. Listen to the conversation and take the ankh
from Torben (figure 4). So, the noises have been getting louder since Banter arrived.
Well, now he's dead, things may change. Go past the staircase and into the
other corridor. Take the fire arrow from the torch and take a right into the
room of water. Water the red pedestal and take the talisman of water.
More Junk
At the crossroads take the fire arrow from the torch and then go into the
storage room. Open up the chests and take the noisemaker arrows and the super-healing
potion, as well as the flashbomb in the hidden chest. Then go south, up the slope and slide down the southern
side, taking the gas arrow as you go. Go into the corridor and take the
frogbeast eggs from the two storage rooms. Watch out for the shadow burrick, it
guards it food source very well. Shadow burricks eat frogbeast eggs. Don't mind the live frogbeast
in the other room, it's friendly (actually it's more concerned about the shadow
burricks).
Finishing Touches
Go into the room of earth and shoot a moss arrow at the red pedestal. Take
the talisman of earth and the gas arrow. Go west, then north. Oh, and watch out
for the shadow burrick pride. Go past the place where the stairwell used to be,
and into the corridor on the other side, and then into the room of fire.
Fire a fire arrow at the pedestal and take the talisman of fire. Then travel
back to the stairwell that isn't blocked up (where the thief had a conversation
with Torben). Travel up it, and place the ankh in its receptacle. Then step
into the electrical stream.
Guild
Contact
Go east, then south and into the half flooded room. Set fire to the rocks
blocking the door and go through to the other section. Take Zilfin's contact
book and the fire and water arrows, and then go back to the non flooded section of the
room. A small rat-like robot is traveling around here, and it shoots purple
blasts. A fire arrow should see it destroyed. Or a blackjack, or a sword. Or if
it stops, you can pick it up and toss it into the water. There are lots of ways
to put it out of commission. Anyway, move east into the workshop and
take the scouting orb and the transport ankh. Then go into the kitchen and get
the water arrows from the tank.
|
Figure 5
|
Figure 6
|
|
Quarters
Go
along the passage to the east and take one of Zilfin's daggers (75 -
Total 1025). It's behind one of the barrels (figure 5). Then go north
along the corridor. The first room on the right has some glasses in a
chest (50 - Total 1075). The second room on the right has a tiara (125
- Total 1200). As I’m sure you’ve noticed, the former inhabitants of
this area were rather tall. Well, at least the doors seem to hint so.
Anyway, there is also some loot in the first room on the left (30 -
Total 1230). In the third room on the right is a necklace (200 - Total
1430). Remember that all the doors are locked, so if you come across
one that is unlocked, you’re going the wrong way. Oh, and in the fourth
room on the right is a gold mushroom (9 - Total 1439). Now, jump into
the red curtains. You should emerge in a storage area for valuable
items (figure 6).
Quarters (continued)
In here you will find some gas arrows, water
arrows, fire arrows, moss arrows, holy water vials, a precursors mask and another
gold mushroom (9 - Total 1448). Now go back to the corridor. In the fifth room
on the right (on the corner) is a purse (100 - Total 1548). In the sixth room
on the right is a coin (5 - Total 1553). In the second room on the left is a
nugget (75 - Total 1628). In the third room on the left is a purse (100 - Total
1728). In the seventh room on the right is a gem (100 - 1828). Confusing, no?
Blackout
Go
into the power room at the end of the corridor and flip the switch to cut power
to most of the lights. Then go to the northern part of he complex. There should
be four elemental wards. Place the talismans in their receptacles and the path
will be cleared. Now, remember the sealed doors in the training halls? Well,
they're now open. Go back to the halls. Remember to place the ankh in it's
place before trying to transport. When you have collected all 10 deity
talismans, return to the elemental wards. Freedom
In the cavern ahead a
tubelift rests on the floor. Stand on it and ride it up. Place all the deity
talismans in their receptacles, and remember to duck when you put the last one
in. Once the crystal shower is over, pick up the remains (810 - Total 2638).
Remember to check the top of the red arches and the bottom of the elevator
shaft. Then return to the centre of the guild (where the prison cells are).
Unlock all the cells and let the spiders out (figure 7). They are now friendly to
you (remember to turn on the lights so the spiders can see and attack the
thieves).
Take Zilfin's weapon from one of the prisoners (75 - Total 2713). This prisoner
was his former second in command.
|
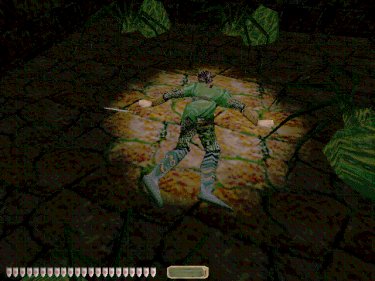
Figure 7
|
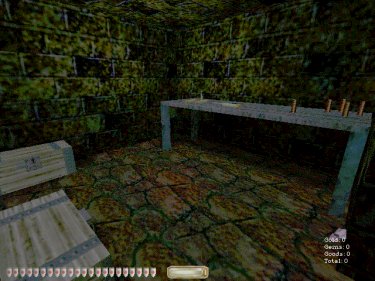
Figure 8
|
|
Return to
the Guild Quarters' Daughter
Now it's time to loot the rooms in the southwest
of the thieves complex. The first room on
the right (coming from the cells) has some loot on the table (12 - Total 2725) and a healing fruit in
a chest. The
second room on the right has a speed potion in a chest. The first room on the
left has a healing potion. Going around the corner, the room at the end of the
corridor has some loot (12 - Total 2737) and an invisibility potion.
Quarters' Daughter (continued)
The first room (after this all rooms are on the right)
has some loot (29 - Total 2766) spread between the chest and the table. The second room has some
coins (41 - Total 2807) spread in the same way. In the third room is the usual loot
(29 - Total 2836). After you
have it, jump through the curtains into the secret area (figure 8). In here is some coins
(125 - Total 2961) as
well as some flares, flash bombs, a scouting orb and a super healing potion.
After you have these, go back to the corridor. The third room (round the
corner) has some coins (25 - Total 2986) and a vial of holy water. In the fourth room is a
healing fruit and in the fifth room is a stack of coins (25 - Total 3011) and a holy water
vial.The Master
Go north into the guildmaster’s section. Behind
Zilfin's chair are two sets of red curtains, each hiding a secret passage. Watch
out for Zilfin though (figure 9). The curtains to the south lead to a number of dead bodies
(figure 10) and one of
Zilfin’s daggers (75 - Total 3086). There is also a ring under the bodies
(100 - Total 3186). The secret area to the east is Zilfin's chambers. Read his diary. So, he intends
to get you with that mask you stole. Lucky you stole it. So, Zilfin was the one
who killed the women in the other room. And, it seems his second in command
found out about his condition and tried to stop him, and Zilfin killed him and
called him a traitor. And, Bantar seems to have been to this
place before he set up his lab in the upper levels. Hmmm. That's a lot to think
about.
|

Figure 9
|
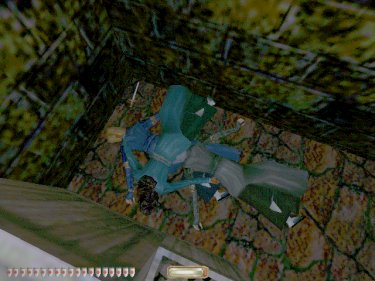
Figure 10
|
|
Journey
Take the five goblets on the table
(125 - Total 3311), then go through the next curtain.
Take his sword (150 - Total 3461) and then return to the corridor. Go back to the stairs and
down to the training hall (yes, back there again). Go into the rooms of Silvesta
and Ov, and follow their instructions (blow up the rocks with fire arrows).
Take the mystic eyes (rope arrow up), and then go back to the thieves complex
and through the door between the elemental wards. Take the tubelift up to the
deity wards. Shoot a rope arrow into the wooden beam below the ice formation
and climb up. Break the ice with your sword, and then look out into the cold.
Secret
Break open the hatch with a broadhead
and shoot a rope arrow into the tree. Climb up, but do not retrieve the arrow.
Up a couple of trees are some gas arrows, so run up the trees and get them. Oh, and watch
out for the treebeast. At the north end of the valley is a ledge. Climb onto
that and follow it into the mountain, breaking the ice as you go.
Death is Only the Beginning
Go down the hall and climb down the ladder. Hmm, strange machinery. Go round
the pyramid and out the side exit... oh no. Recognize the guy in blue? It's
Bantar. That's not fair! We killed him! Why isn't he dead? Well, we can
soon fix that. Unleash both the mystic eyes and then nip down the side and
activate the combobots.
Lambs to the Slaughter
So,
there are many Bantars. Kill them all (figure 11), and then go back
into the room with the pyramid. Lay a coal crystal at the base of the
mechanism and hit it with a fire arrow. Picking through the remains you
discover... the remains of a red Hammerite uniform (figure 12). The
uniform Bantar was wearing when he escaped from the Hammerites. So,
he's dead, right? Please, tell me he's dead!
|
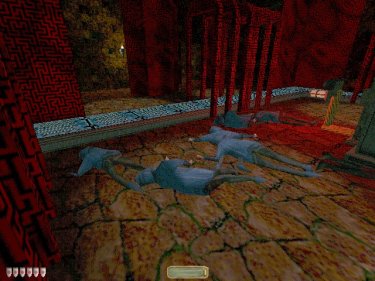
Figure 11
|
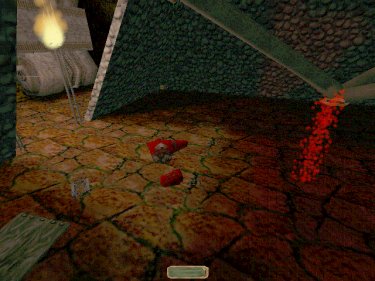
Figure 12
|
|
Knowledge
Well, he seems to be. Time to raid his library. Go west through the machine
shop. Oh, and watch out for the mask guard. A couple of flashbombs should deal
with it. Don't worry, the other two masks are inert. There seems to be quite a
bit of loot in here (775 - Total 4236). Go into the library. Anyway, now we're in the
library it's time to tell you the story of Bantar. In the end it all comes back
to that amulet. It belonged to Constantine, and when You killed him in the maw
of chaos, you stole his amulet. This was stored in the Hammerite archives until
Bantar removed it. The entity known as the Trickster used the amulet as a
bridge to jump into Bantar's body, just like he did to Constantine, the poor
collector who tried on his ancient amulet.
Knowledge (continued)
The man who was Bantar is now no more. His essence has been overrun, and his
body is now an avatar of the trickster's. The trickster then, although weak,
still had some power left. He performed all the actions you observed such far,
and modified mechanical devices to suit his own ends. he grew more bodies, like
he grew his army in the maw. And, he had the fiends created, though with fire
and metal instead of water and cellulose. Then, Bantar gave the amulet to one of his multiple avatars and
then entered the machine so more
avatars could be created using his physical form as a base. The avatar now possessing
the amulet set off to guard the mines of Margroth.
Going for a Swim
Anyway, read all the books in Bantar's library, and take the book of
darkness from its niche (figure 13). Then go back to the machine shop and pick up all the
artifacts. Travel back to the deity room, and go all the way back to the
guild's training halls. To the northeast is the flooded eastern way. Climb the
ladder, take the mushrooms from atop the post (18 - Total 4254), and dive into the
water (figure 14).
|
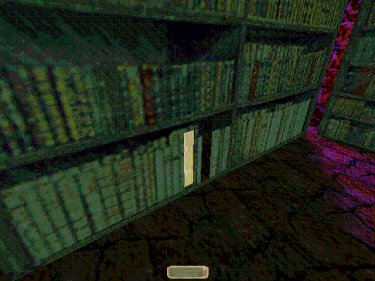
Figure 13
|
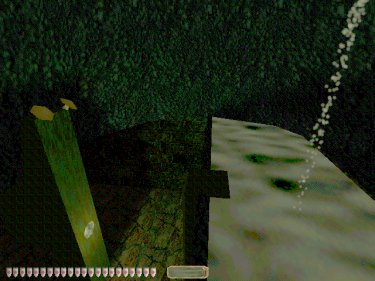
Figure 14
|