Water and Lava - Part 2
Connecting Corridors 2 - "Watervators"
With the second set of corridors (one exit and one entrance), I decided
to have some fun using water currents. Create two very tall cylinders
from solids, then clone them, reduce the width and depth slightly and
fill them with water. Each one will need its own flow brush, set to
a new flow group. For the first flow, set the colour to green and the
z change/sec to 20. For the second flow, set the colour to read and
the z change/sec to -20.
Finally create two a door at the foot of each cylinder with an air
brush and two doors at the top to connect them to the room above. Make
sure the axis for the surface is set correctly, optimise and enjoy the
ride.
Room 3 - Water features
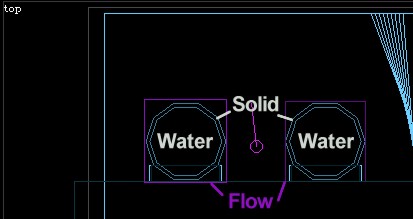
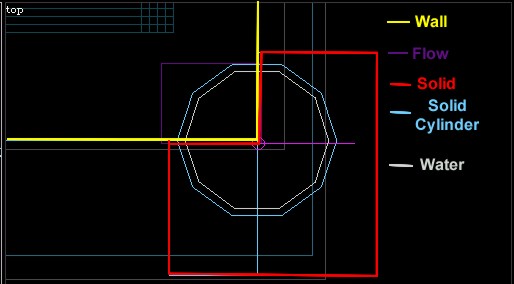
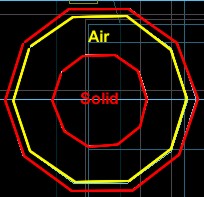
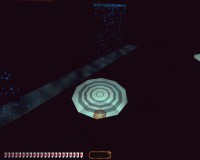
The first of the water features is the "Water Tables". Create a solid
cylinder, clone it, set the new brush to "flood" and then increase
D, W and H by a small amount (0.25 or 0.5 feet).
You will notice that doing this breaks the "water and solids" rule
mentioned previously. This means the cylinders will need a special arrangement
of flow brushes. Make one thin flow brush to cover the top section of
water (the layer above the solid) and set this brush to use flow group
1. You will also need to make a skinny flow brush for each side of the
cylinder - these flows will each need their own group, with the surfaces
set correctly.
The one drawback of this method is that it creates a very thin rim
of incorrectly surfaced water.
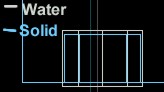
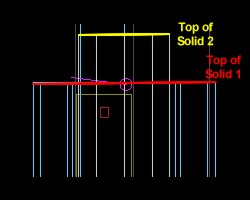
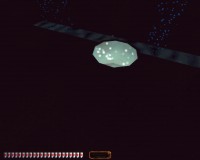
Now that the first tier or "table" is in place, create another by reapeating
the process on a smaller cylinder above the first. When you optimise,
you will notice that you have turned the top of the bottom tier back
to jorge - this is because you have placed a solid second tier in its
center. To fix this, split the flow brush into four equal-sized segments.
Continue to add tables until you are happy with the appearance.
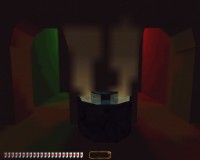
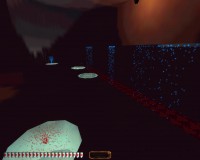
The second water feature is the mini-falls. These are small sheets
of water that drop from a slit in the ceiling to a small pool below.
Create a small corner pool using the cylinder method, with only a quarter
of the pool within the room. Surround the visible area with a flow brush
and set it to group 2 (the still lava). Use fill solid brushes to mask
the parts of the pool outside the room.
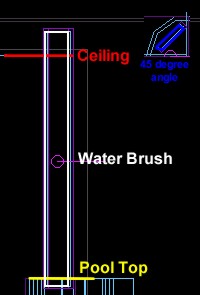
For the sheet of water, create a tall, slim cube and set to "fill water".
Place it so the top penetrates one foot into the ceiling, and the bottom
goes into the pull. Also angle it at 45 degrees so it fits correctly
into the pool. Create a new flow group for the flow brush set to lava,
with the correct surface, and a downwards flow of 1 or 2.
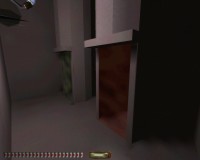
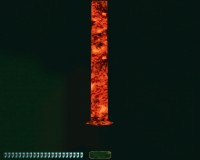
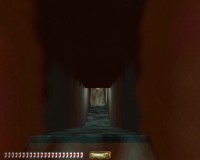
When you optimise you should have a nice waterfall that looks something
like this:
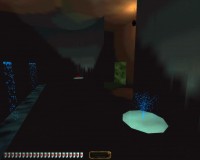
The final water feature in this section is the tiered pool - potentially
the most complex of the three. Start by creating a solid cylinder. Clone
it, reduce the D and W and set it to "fill air", clone the solid again,
increase its height to your liking, and reduce the D and W by around
half.
Now use a flood brush to fill the lower tier. Clone the air brush and
set the clone to "flood". Give it flow brushes - you will need to use
multiple brushes due to the solid at the pool's center.
Finally, to put water in your top tier, clone the tall solid brush
and set to "fill water". Set the height of this brush to the same height
as the difference between the two solids. Align the brush with the top
of the tall solid. Reduce both the depth and the width slighty. Add
some lighting and your new pool is complete.
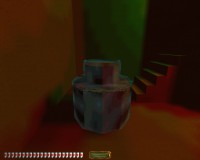
Connecting Corridors 3 - "Wiggle Tubes"
The wiggle tubes are corridors of water that allow you to travel horizontally.
They have currents to prevent you going the wrong way.
Room 4 - Particle FX
There are several water FX available within DromEd - not all of which
will be examined here, with items such as the water arrow FX being omitted.
For a full breakdown of all the areas of an FX you can modify, see the
Stalactite Tutorial.
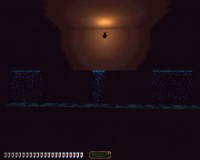
The first FX looked at is the H20StreamFlat. This FX creates a thin
curtain of water drops. Key areas to modify with this FX are:
Another water FX is the H20Fountain. This allows you to create fountains
of droplets. Important areas for modification are:
The next FX in the room is the RippleCore, which creates ripples
in the water to simulate it being hit by something. This FX uses a
TWEQ animation, not the normal particle properties. Areas to alter
are:
The final FX is Cauldron Bubbles, found under Fire FX. This causes
a stream of bubbles to rise from the water. Key areas to alter:
Particle FX are very useful tools, but you need to take care in limiting
how many are visible at one time as they can affect the frame rates.
Connecting Corridors 4 - Water Slide.
The water slide is a thin strip of water, set to "fill water", placed
over a downsloping corridor. There is a flight of stairs to the right
of it to get you back to the top.
|
| G |